Bluetooth Low Energy (BLE) transceiver board. BLE is a new protocol introduced in the 4.0 revision of the Bluetooth standard. It is a wireless personal area network (PAN) technology aimed at novel applications in the healthcare, fitness, security, and home entertainment industries. BLE is not backward-compatible with the previous Bluetooth protocol. However it uses the same 2.4 GHz frequency bands but a simpler modulation scheme. The picture below shows the RedBearLab BLE Mini Board.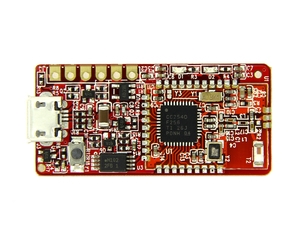
The module is a combo of a RBT01 BLE module featuring the Ti CC2540 Single chip Bluetooth (SoC) and a breakout board that offers a micro USB connector and a 3.3Volt UART connectors. The main reason this board caught my attention is the fact that it also has solder points for additional GPIOs on the back of the board. These GPIOs can be custom programed. So it should be possible to hook up I2C or SPI sensors to the board and with a bit of software be able to monitor them.
Using such a BLE board is not exactly an IoT solution as the connectivity to the cloud would have to be implemented with for example a Wireless enhanced Gallileo. Also the BLE’s range is rather limited. However when it comes to power consumption BLE has a leg up as it was specifically designed for very low power.
TI
Encounter with a Spark
I have tested several IoT platforms over the last couple of weeks. So I was not too keen to checkout yet another one. However, when I got the annoucement that the Spark Core is shipping I could not resist and ordered one. It arrive in the mail today so I thought I will take it for a spin.
The Spark Core comes in a very stylish little box.
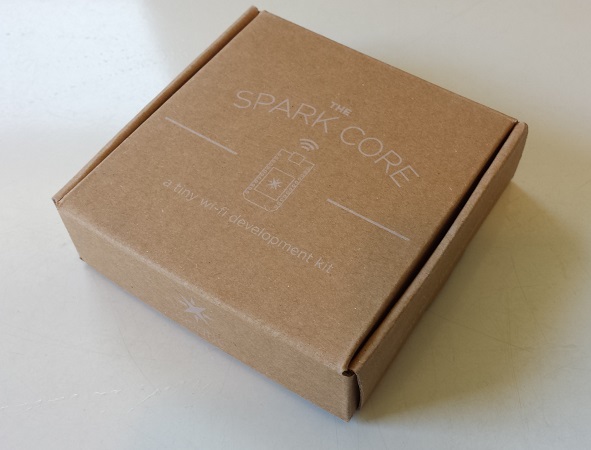
Figure1: Spark Box
To my surprise the box did even includes a breadboard:
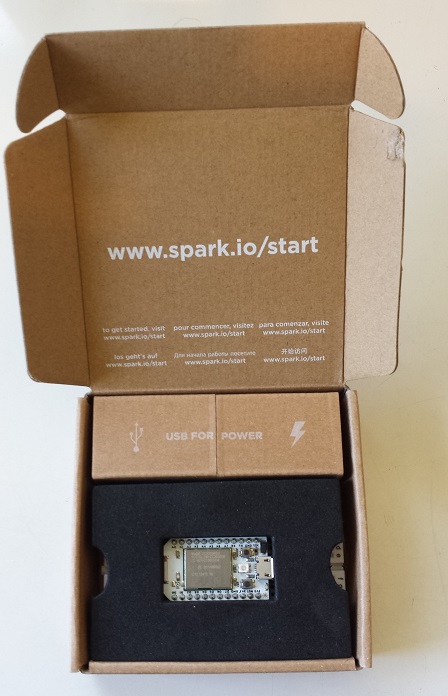
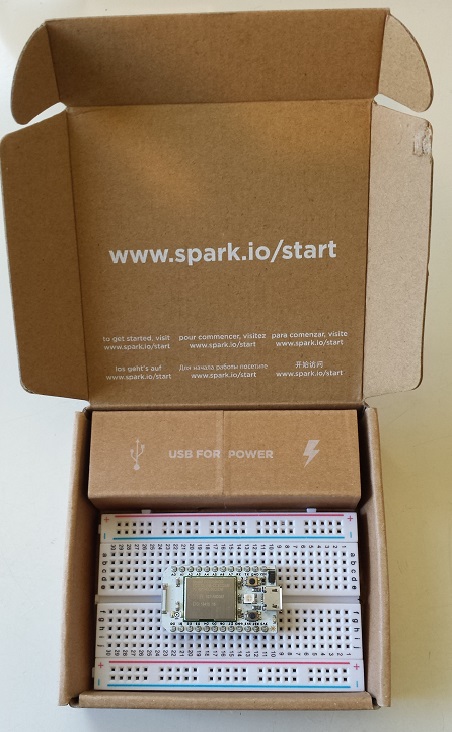
Figure 2: Open Spark Core Box
Overall, the box contains the Spark Core board, a breadboard, a micro-USB cable and Spark sticker.
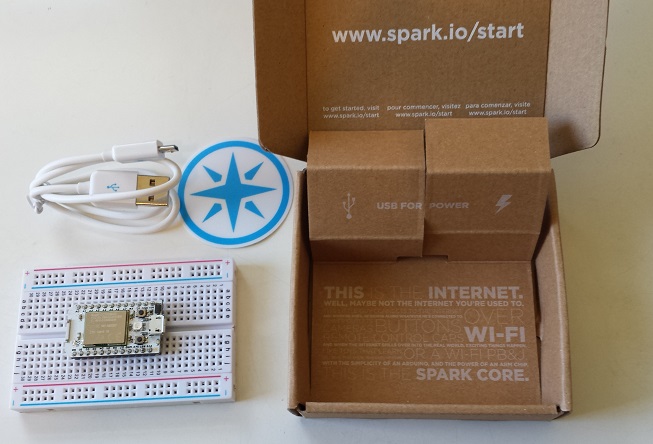
Figure 3: Box Content
It is amazingly simple to get the board up and running. By following these few simple steps:
- Download the Spark App for iPhone or Android
- Setup an account by register at spark.io
- Power up the Spark Core over the USB cable
- Start Spark App and log into your wireless network
If everything works well you will get rewarded with the RGB-LED on the Spark board flashing in rainbow colors. Once the Spark Core is connected to you WiFi and paired with the Spark cloud, it took me only a few minutes to get an on-board blue LED blinking.
It very quickly becomes obvious that the Spark team has done a great job setting up an entire end-to-end IoT solution consisting of:
- Spark Hardware
- Cloud based IDE
- Arduino compatible API
- Free for life cloud back-end service with a RESTful API
All the Spark Core software is open source. The board uses a CC3000 WiFi Module from TI combined with a 32-bit ARM Cortex-M3 powered STM32F103 from ST Microelectronics. The Spark team has come up with a nice integration of this hardware and the cloud server back end. It is based on the CoAP protocol specification and allows for an easy and energy efficient integrated IoT solution.
The cloud API offers over-the-air (OTA) firmware updating where the input can either be c/c++ source code or binaries. For those that don’t want to use Spark Builder, their cloud based IDE the web site also promises support for desktop IDEs like Eclipse.
So much for today, I will cover more details in future blogs.
Galileo in the Doghouse?
In one of my previous blogs I compared the Galileo board against the Raspberry Pi Today we are looking at how the Galileo board compares to the affordable Beaglebone Black board. The Beaglebone is an initiative by Texas Instruments (TI). Unlike the Raspberry PI the Beaglebone board is all open source. Anyway let’s look at the key technical data:
| Beaglebone Black | Intel Galileo | |
| Target price: | US$45 | US$69 |
| SoC: | Texas Instruments Sitara AM3359 | Intel Quark X1000 |
| CPU: | 1GHz ARM® Cortex-A8, NEON floating-point accelerator, 2x PRU 32-bit microcontrollers | 400MHz 32-bit x86 Pentium Class CPU |
| GPU: | SGX530 3D graphics accelerator | none |
| Memory (DRAM): | 512MB DDR3 RAM | 256 Mbyte |
| PCIe ports: | none | PCIe 2.0 |
| USB 2.0 ports: | 1 Host, 1 Device |
1 Host, 2 Device |
| Video input: | none | |
| Video outputs: | HDMI (rev 1.3 & 1.4) | none |
| Audio outputs: | stereo via HDMI | none |
| Onboard storage: | 2GB 8-bit eMMC on-board flash storage SD/MMC/SDIO 3.3V card slot |
SD/MMC/SDIO 3.3V card slot |
| Onboard network: | 10/100 Ethernet | 10/100 Ethernet |
| Low-level peripherals: | Power 5V, 3.3V , VDD_ADC(1.8V) 3.3V I/O on all signals McASP0, SPI1, I2C, GPIO(69 max), LCD, GPMC, MMC1, MMC2, 7 AIN(1.8V MAX), 4 Timers, 4 Serial Ports, CAN0, EHRPWM(0,2),XDMA Interrupt, Power button, Expansion Board ID |
16 × GPIO, UART, I²C bus, SPI |
| Power ratings: | 210-460 mA @ 5V | 550 mA (1.9-2.2W) |
| Power source: | 5 Volt | 5 Volt |
| Size: | 86.36 mm x 53.34 mm (3.4 in x 2.1 in) | 106.68 mm x 71.12 mm (4.2 in x 2.8 in) |
Both boards offer pretty similar technical data. One of the main difference is the absence of a graphics engine and HDMI interfaces in the Galileo’s X1000 Quark processor. This obviously makes the Galileo less of a choice for graphics application. The Beaglebone also offers a higher CPU clock speed which will give you additional punch. However, if you need a miniPCIe slot Galileo is the way to go.
To close the triangle I also recommend the detailed comparison of the Raspberry Pi vs. the Beaglebone published in Make Magazine.
Is 3D Vision ready for prime time?
One of the exiting fields of embedded computing is 3D vision. The Microsoft’s Kinect is certainly the premier consumer product in this category. However, if things go according to Intel’s CEO Krzanich Kinect will soon get company. At his CES 2014 presentation he showed off RealSense scanning and gesture control technologies and announced the roll-out of this technology during 2014 with SDK becoming available soon.
Intel is not alone looking at this space. TI is also active in 3D Vision. However, their focus is more on Automotive rather than consumer devices. For those interested to look behind the scene of 3D technology, there is a video interview by Jeff Bier, founder of the Embedded Vision Alliance, that presents some live 3D feeds and explanations by Goksel Dedeoglu, Manager of Embedded Vision R&D at Texas Instruments.
Combining 3D Vision with Infra-Red (IR) imaging technology as showcased in the video below and it is easy to imagine what exiting opportunities are out there.
I agree that some of these technologies are out of reach for a typical DIY Maker. However, as in the past these technologies will come down in their price points and get more accessible to the masses quickly. One 3D Photo/Movie example can be found in Make Magazin. So it is never too early to start imagine what to do with it.