Cloud Computing

Google polls Spark Core

apps
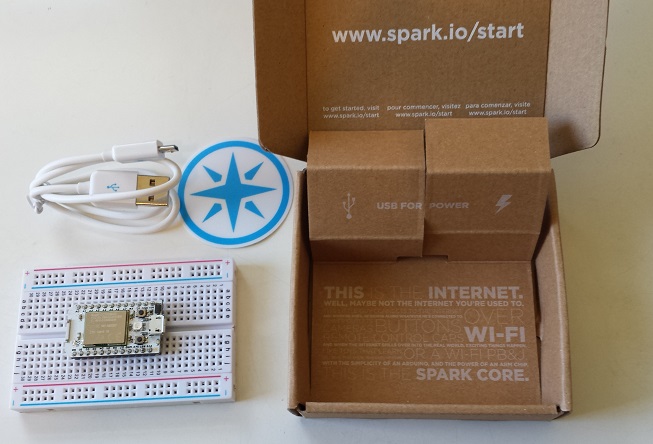
In a previous blog post I was describing an example of how a Spark Core can be used to read weather sensors. The setup was really no different from any simple Arduino Uno setup. It only demonstrated how easy it is to port Arduino Sketches to a Spark Core.
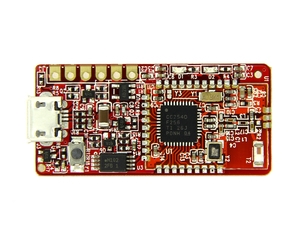
With the integrated WLAN I was interested to connect the Spark Core to the internet cloud. One of the simplest ways I found, was using Google’s Spreadsheet service. I stumbled over this idea in this Spark forum post.
Here is how it works: a Google Script is periodically reading data from the Spark Core via the RESTful Spark API and then appends the data to a Spreadsheet. The code below is a minimalistic Spark code to test the such a setup:

int variable = 1634;
void setup() {
  Spark.variable("variable", &variable, INT);
}
void loop() {
  variable++;
  delay(5000);
}

It publishes a variable for cloud access and then increments it in regular intervals. Together with the following Google script I was able to quickly pull data from my core.

function collectData() {
  var  sheet = SpreadsheetApp.getActiveSheet();
  var sensor = UrlFetchApp.fetch("https://api.spark.io/v1/devices/<id>7/variable?access_token=<token>");
  // parse the JSON the Core API created
  var sensor = JSON.parse(sensor.getContentText());
  // you'll need to unescape before your parse as JSON
  var sensor_result = unescape(sensor.result);
  // create a time stamp
  var d = new Date();
  // append data to spreadsheet
  sheet.appendRow([d, sensor_result]);
}

However when I setup a time trigger to run the script in regular intervals I found the setup to be very unreliable. This is discussed and documented by several Spark Users and as of this writing I have not seen a fix for this problem.
One thing to note is, that this approach is pulling data from the Spark Core rather than the core pushing them to the cloud. This has a significant flaw as we cannot put the core into standby between the measurement intervals. Therefore this solution is anyway not a good choice for low power applications.
So stay tuned, I am experimenting with a better solution that I will blog about in my next post.

RedBear BLE Module

Bluetooth Low Energy (BLE) transceiver board. BLE is a new protocol introduced in the 4.0 revision of the Bluetooth standard. It is a wireless personal area network (PAN) technology aimed at novel applications in the healthcare, fitness, security, and home entertainment industries.  BLE is not backward-compatible with the previous Bluetooth protocol. However it uses the same 2.4 GHz frequency bands but a simpler modulation scheme. The picture below shows the RedBearLab BLE Mini Board.MKRBL2-2T
The module is a combo of a RBT01 BLE module featuring the Ti CC2540 Single chip Bluetooth (SoC) and a breakout board that offers a micro USB connector and a 3.3Volt UART connectors. The main reason this board caught my attention is the fact that it also has solder points for additional GPIOs on the back of the board. These GPIOs can be custom programed. So it should be possible to hook up  I2C or SPI sensors to the board and with a bit of software be able to monitor them.
Using such a BLE board  is not exactly an IoT solution as the connectivity to the cloud would have to be implemented with for example a Wireless enhanced Gallileo. Also the BLE’s range is rather limited. However when it comes to power consumption BLE has a leg up as it was specifically designed for very low power.

Encounter with a Spark

I have tested several IoT platforms over the last couple of weeks. So I was not too keen to checkout yet another one. However, when I got the annoucement that the Spark Core is shipping I could not resist and ordered one. It arrive in the mail today so I thought I will take it for a spin.
The Spark Core comes in a very stylish little box.
Spark Box
Figure1: Spark Box
To my surprise the box did even includes a breadboard:
spark2spark3
Figure 2: Open Spark Core Box
Overall, the box contains the Spark Core board, a breadboard, a micro-USB cable and Spark sticker.
spark4
Figure 3: Box Content
It is amazingly simple to get the board up and running. By following these few simple steps:

  1. Download the Spark App for iPhone or Android
  2. Setup an account by register at spark.io
  3. Power up the Spark Core over the USB cable
  4. Start Spark App and log into your wireless network

If everything works well you will get rewarded with the RGB-LED on the Spark board flashing in rainbow colors. Once the Spark Core is connected to you WiFi and paired with the Spark cloud, it took me only a few minutes to get an on-board blue LED blinking.
It very quickly becomes obvious that the Spark team has done a great job setting up an entire end-to-end IoT solution consisting of:

  1. Spark Hardware
  2. Cloud based IDE
  3. Arduino compatible API
  4. Free for life cloud back-end service with a RESTful API

All the Spark Core software is open source. The board uses a CC3000 WiFi Module from TI combined with a 32-bit ARM Cortex-M3 powered STM32F103 from ST Microelectronics. The Spark team has come up with a nice integration of this hardware and the cloud server back end. It is based on the CoAP protocol specification and allows for an easy and energy efficient integrated IoT solution.
The cloud API offers over-the-air (OTA) firmware updating where the input can either be c/c++ source code or binaries. For those that don’t want to use Spark Builder, their cloud based IDE the web site also promises support for desktop IDEs like Eclipse.
So much for today, I will cover more details in future blogs.

First Steps with the Electric Imp

At the CES 2014 Intel announced the Edison platform that is intended to enable IoT applications.  As pointed out in my earlier blog, there is a pretty similar solution out there. It goes by the name of Electric Imp.
El_Imp
cloudgraphic
The Electric Imp is a platform that consist of several parts:

  • The SD-Card size Electric Imp
  • A web based IDE
  • A cloud service that integrates with the Electric Imp hardware
  • The BlinkUp cell phone app to pair the Imp Hardware with your local network and Electric Imp web services

Such an impressive combination promised some fun, so I was curious how well all the components would work together.  To try it out I got myself an Electric Imp and the related Imp Arduino Shield from Sparkun. In order to use it with Arduino Shields or Arduino Boards you have to also order the headers and solder them on the board. I use the Arduino Stackable Header Kit . The stackable header allow you to use the Imp as a “WiFi Shield” to an Arduino Single Board Computer (SBC) as well as being a standalone SBC. If you only use you Electric Imp as a SBC you won’t need any stackable headers. Also make sure you order the headers that fits your Arduino board. There are different revisions out there. The R3 version has additional pins and will not fit an original Arduino board.
Once the headers are soldered down you can plug the Electric Imp Shield on top of an Arduino board. Signup for an account on http://electricimp.com and download the BlinkUp app to your smartphone. Fire-up the app and log into your Electric Imp account with your credentials. It’s time to power up the Arduino-Imp combo. Hold your Phone screen flush with the front edge of the Electric Imp card and start the pairing process. The phone screen flashes for a while. Once the flashing stops the Electric Imps status light should turn green. You can get detail instructions on the Electric Imp web site or on Sparkfun. So far not a lot of challenges.
Time has come to whip together some code that brings this combo to life. To test the Electric Imp I used some modify code from their web site.

// create a global variabled called led,
// and assign pin9 to it
led8 <- hardware.pin8;
led9 <- hardware.pin9;
// configure led to be a digital output
led8.configure(DIGITAL_OUT);
led9.configure(DIGITAL_OUT);
// create a global variable to store current
// state of the LED
state <- 0;
function blink() {
  // invert the value of state:
  // when state = 1, 1-1 = 0
  // when state = 0, 1-0 = 1
  state = 1-state;
  // write current state to led pin #8
  led8.write(state);
  // schedule imp to sleep for .5 seconds.
  imp.sleep(0.5);
  // write current state to led pin #9
  led9.write(state);
  // schedule imp to wakeup in .5 seconds and do it again.
  imp.wakeup(0.5, blink);
}
// start the loop
blink();

The code above let’s the two LEDs on the Electric Imp Shield blink alternatively for half a second each. So if you see the LEDs blinking, you know that the IDE properly compiled it and downloaded it over the internet into the Electric Imp card where it gets properly executed. Well Done! Stay tuned, in my next installment I will try to get the Electric Imp talk to the Arduino.